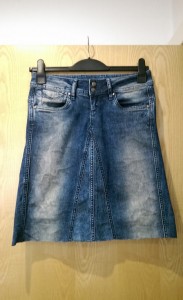
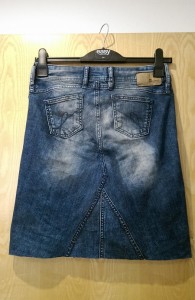
It’s been quite some time that I have been thinking to turn one of my old jeans into a denim skirt… Well, it’s not that old, but for some reason I didn’t like the fit, however I love its washed out colour, so I decided to re-fashion it.
This is how it looked like in its previous life…
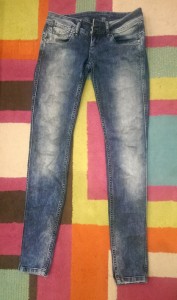
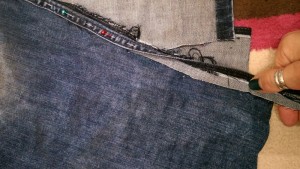
Turning your old jeans into a denim skirt is actually a simple project that it can be completed in one evening, excluding of course the unpicking of the inner leg seams (this step was completed over the course of a few lazy evenings in front of the TV).
One thing that I had in my mind was to find a way to turn the fabric from the crotch area into a straight seam and avoid the overlapping of the fabric edges at the back of the skirt…and I managed to get it right!
Below I have included step-by-step instructions with pictures on how to turn a pair of jeans into a skirt, including my little trick to achieve nice and straight seams…
Step 1: Unpick the seam of the inner legs:
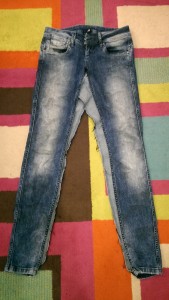
Step 2: Fold the jeans so that the legs overlap and cut them off to the desired length. I would recommend that you cut it slightly longer though as it will help you when aligning the additional pieces of fabric later on.
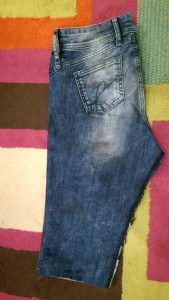
Step 3: Open up the jeans and lay it flat on the floor (or on a table if you have a good size one).
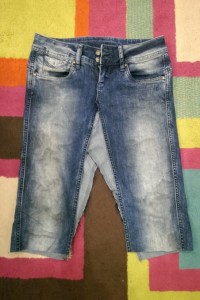
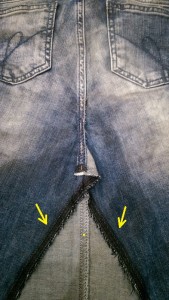
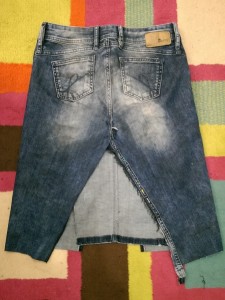
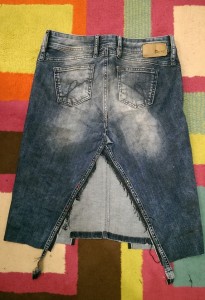
As you can see there is a wide gap both on the front and the back where there used to be the jeans legs. Time to get rid of these gaps now…
Step 4: Take the first cut off leg piece and place it in the gap between the two front legs aligning the seams as shown below:
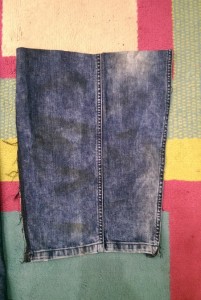
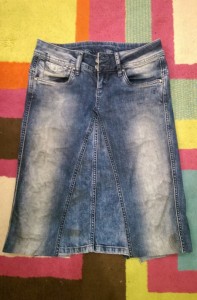
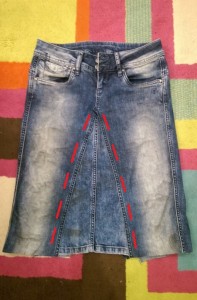
Sew along the seams as highlighted with the red dashed lines in the picture above. Don’t worry about the length and the hem of the skirt at this stage.
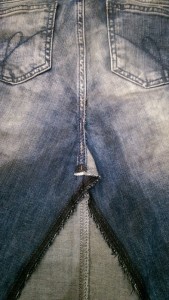
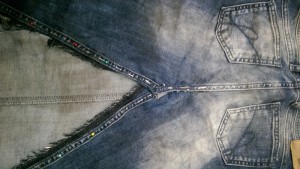
Step 5: Turn the skirt to the back. You can see how the fabric from the crotch area overlaps with the right side leg. This was the part that I had to work out in order to create a straight seam…
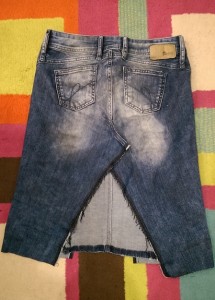
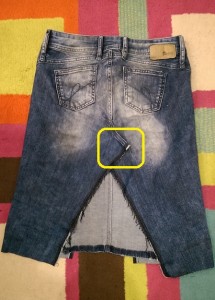
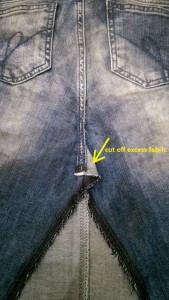
Just pull the crotch seam backwards in order to align it with the rest of the back seem and pin it in place. You will notice that there is a little bit of excess fabric, but don’t worry about it as you will cut it off later.
Sew along the newly aligned seam and once you have secured it in place go ahead and cut off the excess fabric.
Step 6: You may have noticed that the back of the skirt, where the inner leg seams used to be, doesn’t have the original side seams look (the front inner legs seams were retained after unpicking them so that was not a problem).
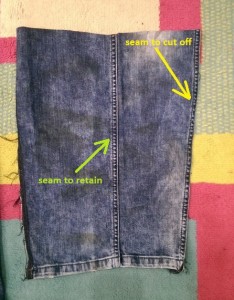
Let’s create them then… Just cut off the two side seams from any of the leg pieces (the ones we are using to patch the front and back middle sections of the skirt). Make sure though that you retain the centre seam of the cutoff leg pieces as you will need to align them with the skirt seams.
Cut the seam strips approximately 2cm wide so that you have enough fabric to fold them in two when you attach them at the back of the skirt. You will have two strips like the one below:
Step 7: Take the seam strips and pin them to the back of the skirt by folding them in two. Make sure that you start from the main back seam creating a V-shape:
Once you have attached both strips, the skirt will have new side seams. Just go ahead and sew them in place.
Step 8: Attach the second cut off leg piece to the back of the skirt the same as way we did for the front earlier.
Step 9: Cut the skirt to the desired length and run a zig zag stitch to prevent it from fraying
Your new skirt is ready!!!
